

Installing a submersible borehole pump is a significant undertaking that requires careful planning, the right tools, and a good understanding of the process. As a trusted supplier of Submersible Borehole Pumps, I've witnessed firsthand the importance of a proper installation. In this blog post, I'll guide you through the step-by-step process of installing a submersible borehole pump, ensuring that you can make the most of your investment.
Step 1: Gather the Necessary Tools and Materials
Before you start the installation process, it's crucial to gather all the tools and materials you'll need. Here's a list of the essentials:
- Submersible borehole pump (you can choose from our range of pumps, including the 3-phase borehole pump, Submersible Clean Water Pump, and 2 Hp Well Pump)
- PVC pipe and fittings
- Electrical cable
- Pipe clamps
- Pressure switch
- Pressure tank
- Wrenches
- Screwdrivers
- Tape measure
- Safety equipment (gloves, safety glasses, etc.)
Step 2: Prepare the Borehole
The first step in installing a submersible borehole pump is to prepare the borehole. This involves ensuring that the borehole is clean and free of any debris or obstructions. You may need to use a borehole cleaning tool to remove any sediment or rocks that could damage the pump.
Next, measure the depth of the borehole to determine the appropriate length of the PVC pipe and electrical cable. It's important to leave enough slack in the cable to allow for future maintenance or replacement of the pump.
Step 3: Assemble the Pump and Pipe
Once the borehole is prepared, it's time to assemble the pump and pipe. Start by attaching the PVC pipe to the pump using the appropriate fittings. Make sure the connections are tight and secure to prevent any leaks.
Next, attach the electrical cable to the pump. Follow the manufacturer's instructions carefully to ensure that the cable is connected correctly and that all electrical connections are properly insulated.
Step 4: Lower the Pump into the Borehole
With the pump and pipe assembled, it's time to lower the pump into the borehole. Use a hoist or winch to carefully lower the pump into the borehole, making sure that the pipe and cable are not twisted or kinked.
As you lower the pump, periodically check the depth to ensure that it is being installed at the correct level. The pump should be installed at a depth that is below the water level in the borehole to prevent it from running dry.
Step 5: Connect the Pipe and Electrical Cable to the Surface
Once the pump is in place, it's time to connect the pipe and electrical cable to the surface. Start by running the PVC pipe up to the surface and connecting it to the pressure tank. Use pipe clamps to secure the pipe to the borehole casing or other support structure.
Next, run the electrical cable up to the surface and connect it to the pressure switch and power supply. Make sure all electrical connections are properly insulated and that the cable is protected from damage.
Step 6: Install the Pressure Switch and Pressure Tank
The pressure switch and pressure tank are important components of the submersible borehole pump system. The pressure switch controls the operation of the pump, turning it on and off as needed to maintain the desired water pressure. The pressure tank stores water under pressure, reducing the frequency of pump cycling and extending the life of the pump.
Install the pressure switch and pressure tank according to the manufacturer's instructions. Make sure the pressure switch is set to the appropriate pressure range for your system.
Step 7: Test the System
Once the pump, pipe, electrical cable, pressure switch, and pressure tank are all installed and connected, it's time to test the system. Turn on the power supply and check for any leaks or other issues. Monitor the water pressure and make any necessary adjustments to the pressure switch or other components.
Run the pump for a few minutes to ensure that it is operating properly and that water is flowing smoothly through the system. If you notice any problems, such as low water pressure or unusual noises, stop the pump immediately and troubleshoot the issue.
Step 8: Perform Regular Maintenance
To ensure the long-term performance and reliability of your submersible borehole pump, it's important to perform regular maintenance. This includes checking the pump and system components for wear and tear, cleaning the pump and filters, and testing the water quality.

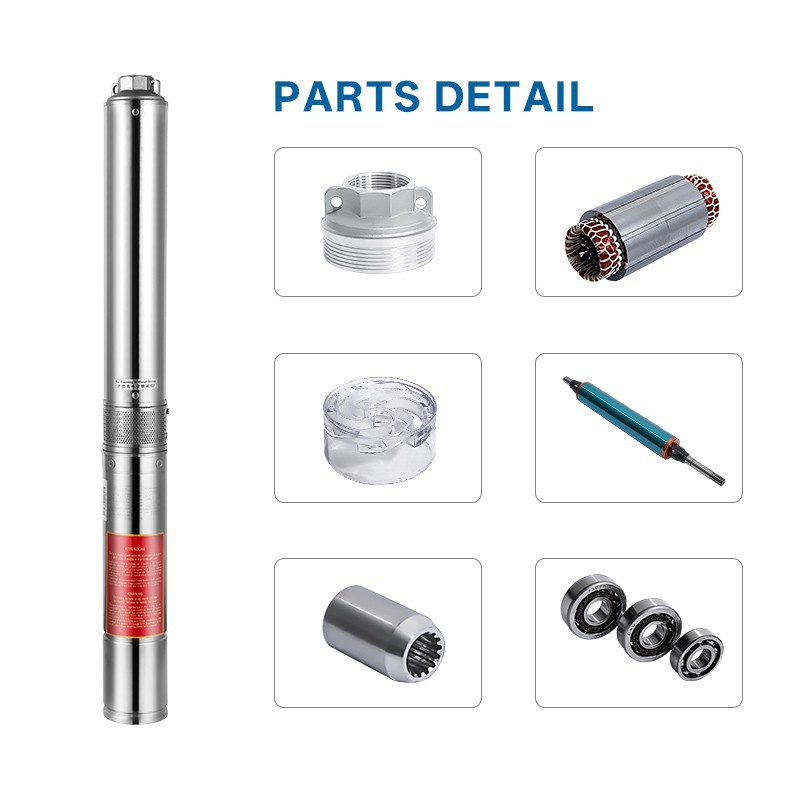
Follow the manufacturer's recommended maintenance schedule and procedures to keep your pump in good working condition. Regular maintenance can help prevent costly repairs and extend the life of your pump.
Conclusion
Installing a submersible borehole pump is a complex process that requires careful planning and attention to detail. By following the steps outlined in this blog post and using the right tools and materials, you can install a submersible borehole pump safely and effectively.
If you have any questions or need further assistance with your submersible borehole pump installation, please don't hesitate to contact us. As a leading supplier of Submersible Borehole Pumps, we have the expertise and experience to help you choose the right pump for your needs and ensure a successful installation. We look forward to discussing your requirements and assisting you with your purchase.
References
- Manufacturer's installation and operation manuals for submersible borehole pumps
- Plumbing and electrical codes and regulations
- Industry best practices for submersible borehole pump installation and maintenance


